|
|
|
Leeds College of Art
BA (Hons) ILLUSTRATION
|
Level
|
04
|
|
Credits
|
20
|
|
|
End of Module Self Evaluation
|
||
|
NAME
|
Alice Dear
|
|
1. What skills have you developed through this
brief and how effectively do you think you have applied them?
|
|||||
|
Throughout
this brief I have developed a range of skills. Thinking about composition and
layout has been a massive part of creating and planning the illustrations for
this book as page size and order is so important. Also deciding how wide or
small or how many pages the illustrations should run through was something I
had to keep in mind throughout the project. I think my decisions were
appropriate in respect of the compositions I used and the layout of my book;
especially as I had parts cut out which meant planning composition was
essential.
I
have also developed my Photoshop skills such as using layers, multiply,
texture and levels. These skills really helped me as they saved me time and
allowed me to create illustrations with more depth, particularly when adding
textures.
I
also learnt a lot by looking at other illustrators work using colour schemes.
Beforehand I would have tried out colours that I thought worked together well
and that looked right, but in this project I started planning colour schemes
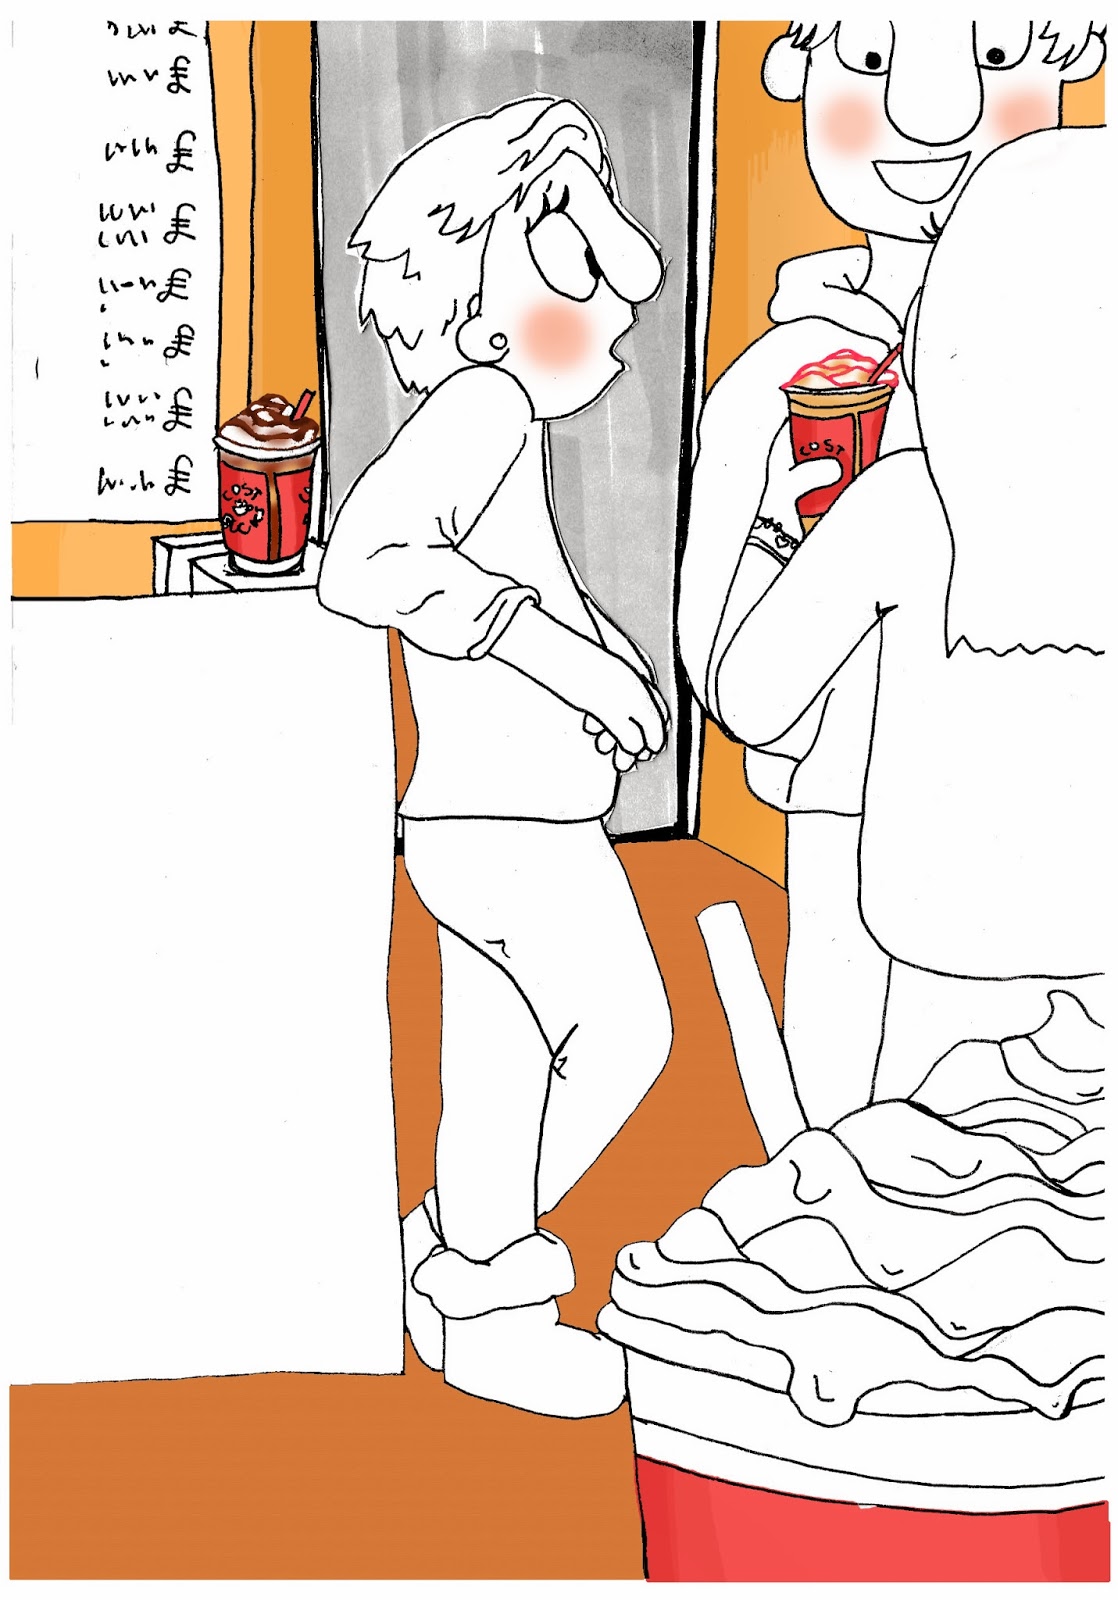
before trying them out. I looked at coffee shop colour schemes and how they
used warm tones and I noticed that a lot of illustrators used multiple shades
of one colour in their work. I effectively applied this in my own work as I
used mainly just warm tones of red, orange and pink, to create a coffee shop
atmosphere and to ensure all the illustrations felt like part of a set.
I
have developed skills within book binding and I now can differentiate between
the appropriateness of each style of binding and also how to use Indesign to
layout and print the pages for the creation of a book. These were applied
when printing and binding my own book and I they were used effectively as my
end result was accurate to how I had planned it. The pages were all in the
correct places which was very essential as they had a specific order to allow
for the cut out areas to make sense and to be in sync. In book binding skills
were developed in order to use effectively the guillotine, folding the pages,
making templates, making holes and stitching.
|
|||||
|
2.
What approaches to/methods of image making have you developed and how have
they informed your concept development process?
|
|||||
|
My
methods when approaching colour has developed and informed my concept
development process. In this project I started planning colour schemes before
trying them out. I looked at coffee shop colour schemes and how they used
warm tones and I noticed that a lot of illustrators used multiple shades of
one colour in their work. I effectively applied this in my own work as I used
mainly just warm tones of red, orange and pink, to create a coffee shop
atmosphere and to ensure all the illustrations felt like part of a set. I
have also developed my methods when gathering research as I have leant to be
more focused and precise in my collection of data, and in my concept
development to keep in mind that simplicity is key. My concept development
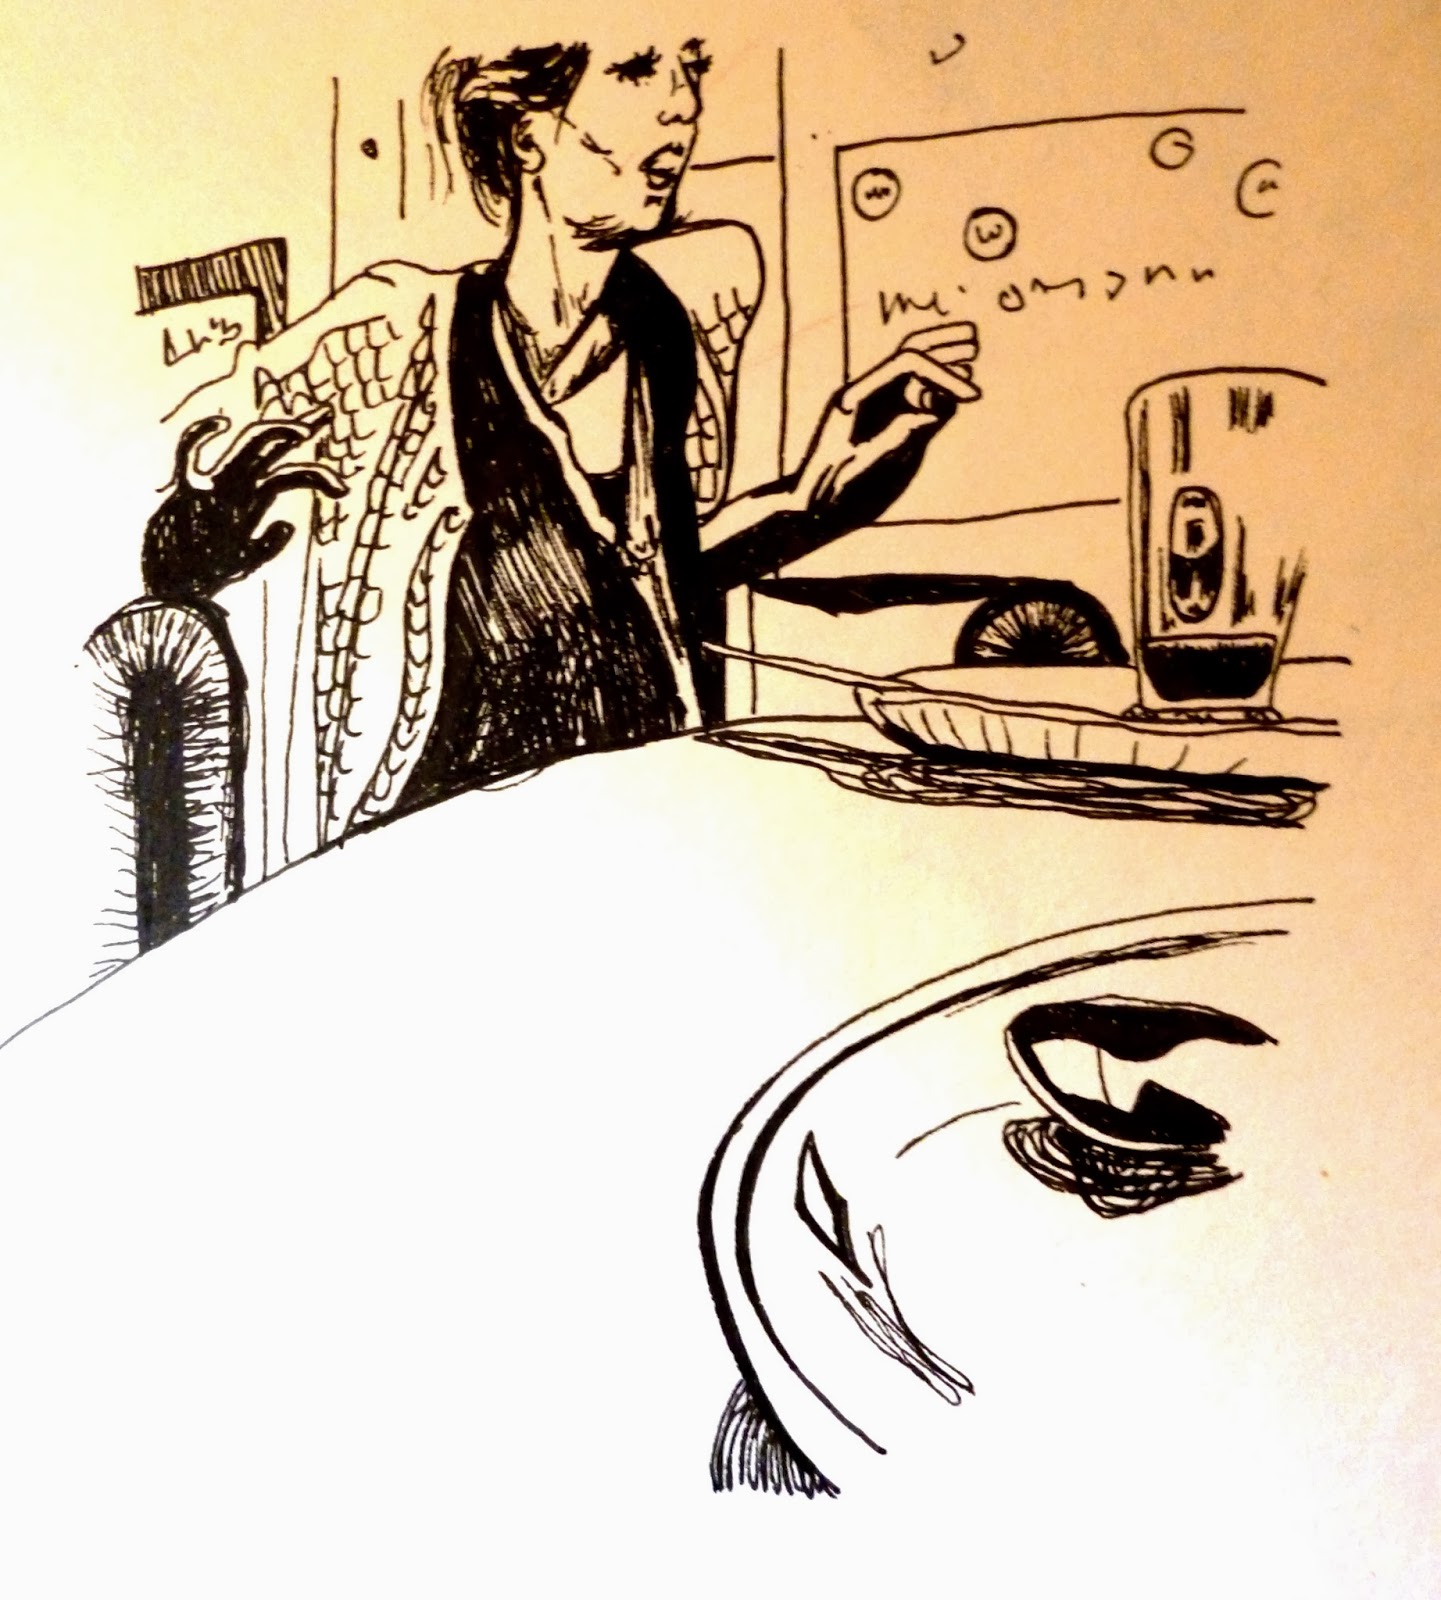
process was also informed by my choice to use cartoons, instead of using
photographic reference to create realistic illustrations, this was an
approach I decided to use in order to create characters that were unspecific,
relatable and that would represent the range of society I intended to.
|
|||||
|
3.
What strengths can you identify in your work and how have/will you capitalise
on these?
|
|||||
|
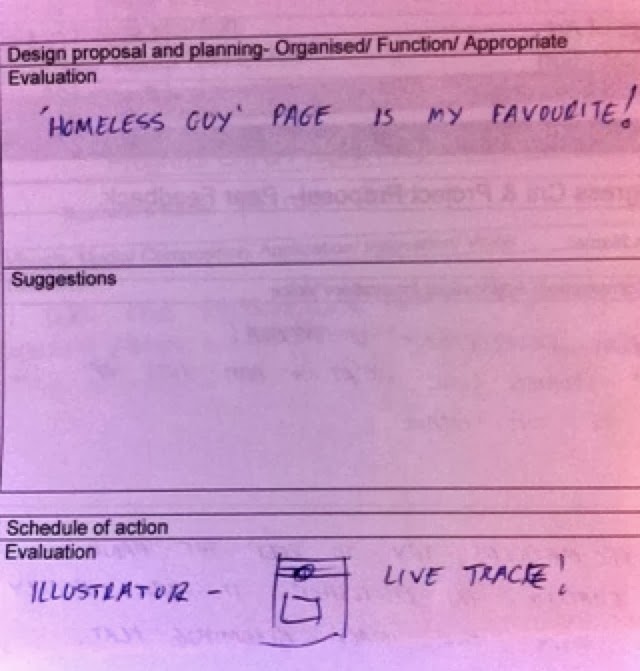
The
feedback I got in this project identified strengths in my more realistic
illustrations so I will capitalise on these in future. However I do feel that
there were strengths in my cartoons, particularly using less reference and
more imagination as it made me feel free and this is something I will definitely
try to do when creating work in future to add more of my own message to the
piece. Other strengths I think were using negative space, and not feeling the
need to add colour in every part of the illustration. This is something I did
not plan when creating illustrations but this project has taught me to
capitalise on these by planning out what essential parts of the illustration
I want the audience to focus on and how to use colour or lack of it to do
this. I also feel like characters are a strength in the way of atmosphere and
emotions and I capitalised on this throughout the book by using different scenes
and characters to create the atmosphere of the coffee shop.
|
|||||
|
4.
What weaknesses can you identify in your work and how will you address these in
the future?
|
|||||
|
I
think concept is something I really need to make simple and clear, so that
the message is a strong one within my work. I will address this by trying to avoid
getting distracted by too many ideas and too much research and instead have a
clearer direction earlier on in the project on what I would like the audience
to feel when looking at my work. Composition and layout is something that I
need to address in future by practicing different options for my
illustrations, I think some of the pages could have been composed more
effectively. I think proportions and realistic elements could have been
addressed in this work as I used almost no references for my illustrations,
apart from the food and drink, which in a way was good as it highlighted the
coffee shops products but I think the illustrations would have been more believable
if I had used reference to make everything other than the cartoon style of
faces, realistic.
|
|||||
|
5.
Identify five things that you will do differently next time and what do you
expect to gain from doing these?
Plan
composition and layout in my illustrations in more depth. This would make
them have a less cluttered and more thought out feel and would draw the reader’s
eye to the focuses of the pieces.
Draw
out the illustrations as many times as possible as this would lead to create
the best style of that one particular scene or character and it would mean
that the pen lines would all be joined and smooth to enable easier editing on
Photoshop. I would also use more reference as this would create a more
believable scene and characters, for example furniture and coffee cups. I
would use a cleaner cutter for the cut out parts and spend longer cutting
them out to gain a smoother and more professional edge to the paper. I would
also spend more time trying out colour combinations and textures using
Photoshop to create the most atmosphere, feeling and depth to the
illustrations.
|
|||||
|
|
|||||
|
6.How
would you grade yourself on the following areas:
(please
indicate using an ‘x’)
5=
excellent, 4 = very good, 3 = good, 2 = average, 1 = poor
|
|||||
|
|
1
|
2
|
3
|
4
|
5
|
|
Attendance
|
|
|
|
|
x
|
|
Punctuality
|
|
|
|
|
x
|
|
Motivation
|
|
|
|
x
|
|
|
Commitment
|
|
|
|
x
|
|
|
Quantity
of work produced
|
|
|
|
x
|
|
|
Quality
of work produced
|
|
|
|
x
|
|
|
Contribution
to the group
|
|
|
|
x
|
|
|
The
evaluation of your work is an important part of the assessment criteria and
represents a percentage of the overall grade. It is essential that you give
yourself enough time to complete your written evaluation fully and with
appropriate depth and level of self-reflection. If you have any questions
relating to the self-evaluation process speak to a member of staff as soon as
possible.
|
|||||
A copy of
your end of module self evaluation should be posted to your studio practice
blog. This should be the last post before the submission of work and will
provide the starting point for the assessment process. Post a copy of your
evaluation to your PPP blog as evidence of your own on going evaluation.
Notes


.JPG)
.JPG)


.JPG)


.JPG)


